Onyx
#2: How to Name/Order Notebook Pages
Mar
Switched to an amazing e-ink tablet but miss flipping through the pages of your Journal?
I may have JUST the thing for you
Today, I will go through some practices I use to name and organize pages in my bullet journal.
BONUS – I will show you how to choose a static cover page for you notebook, too!
Jump to Bonus HERE
Step 1
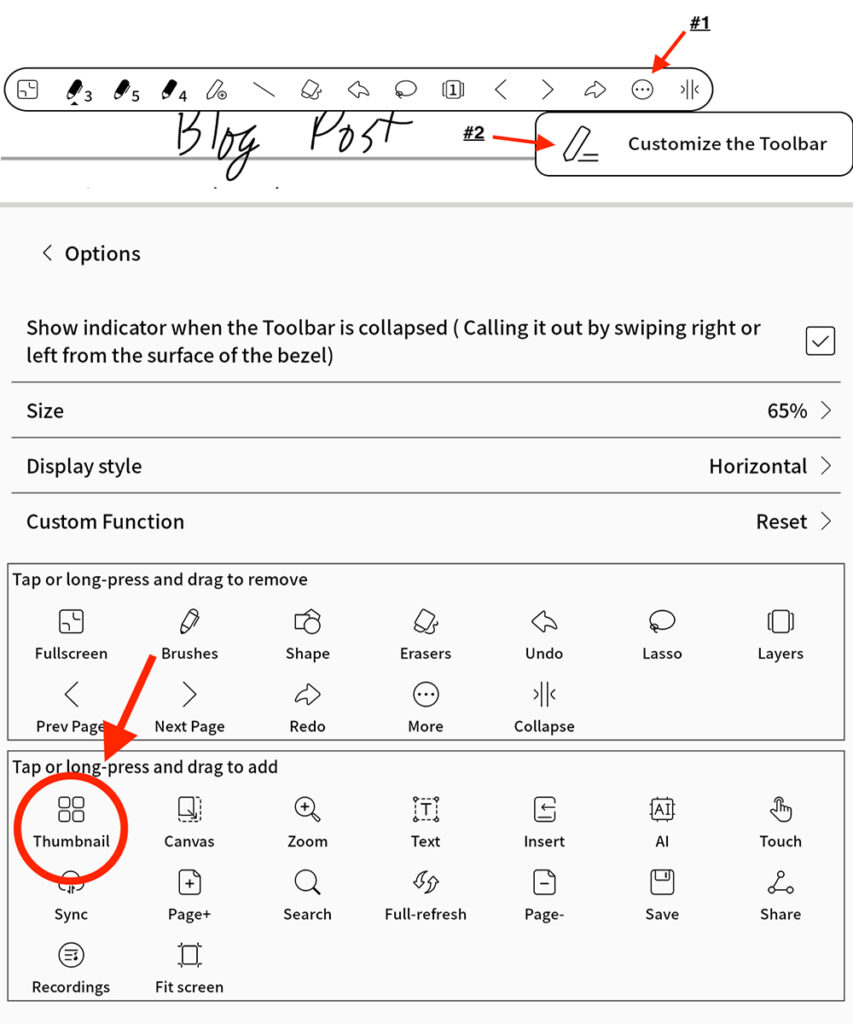
Access the Pages window
To access the page window, you will need to add the thumbnail icon to the floating toolbar.
- click on ‘more’ icon [ad icon img]
- select ‘Customize Toolbar’
- in the options menu, tap on ‘thumbnail’ icon to add it to the toolbar
Alternative Method
If you do not see the thumbnail icon in floating toolbar menu:
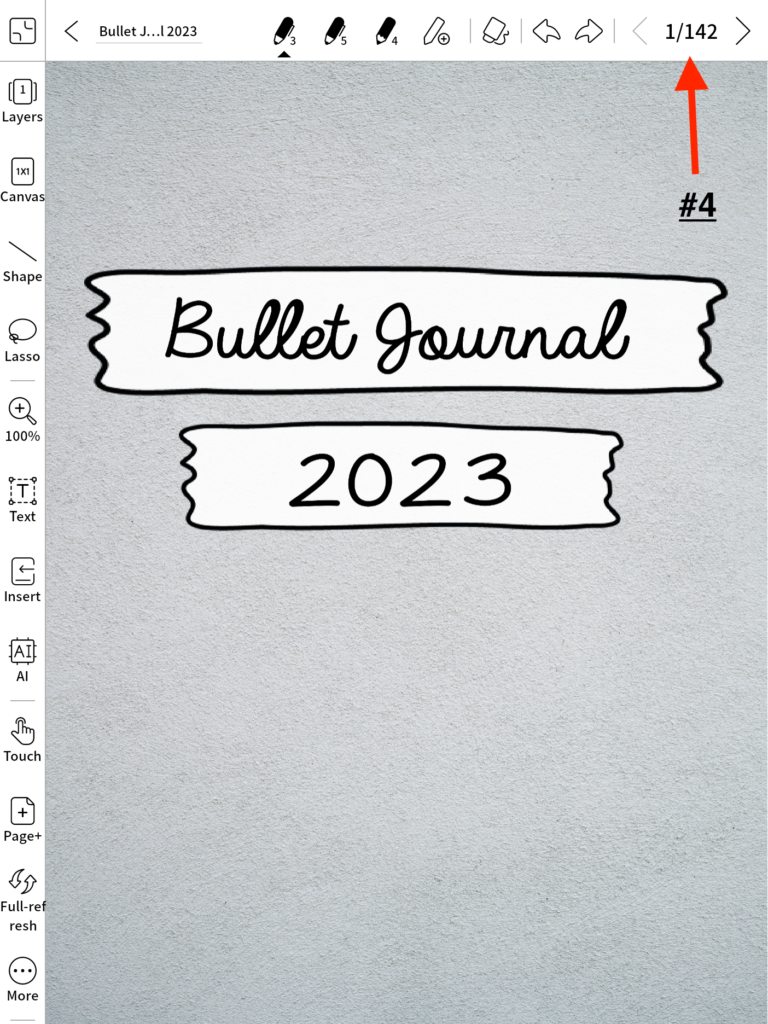
4. You can click on pages number section in top right corner of main toolbar to access Pages window
-
- (swipe right on picture for example)
Step 2
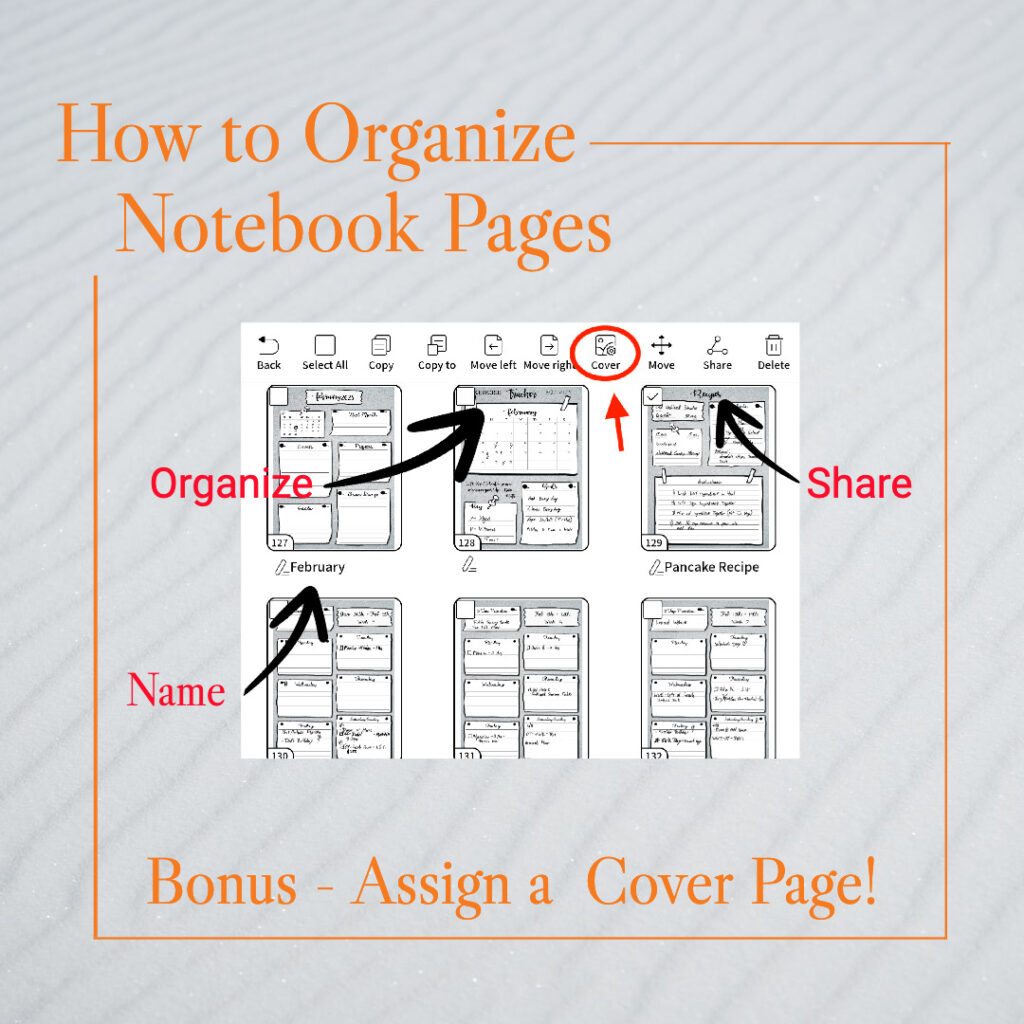
Naming Pages
Now you can click the thumbnail icon to access the pages menu.
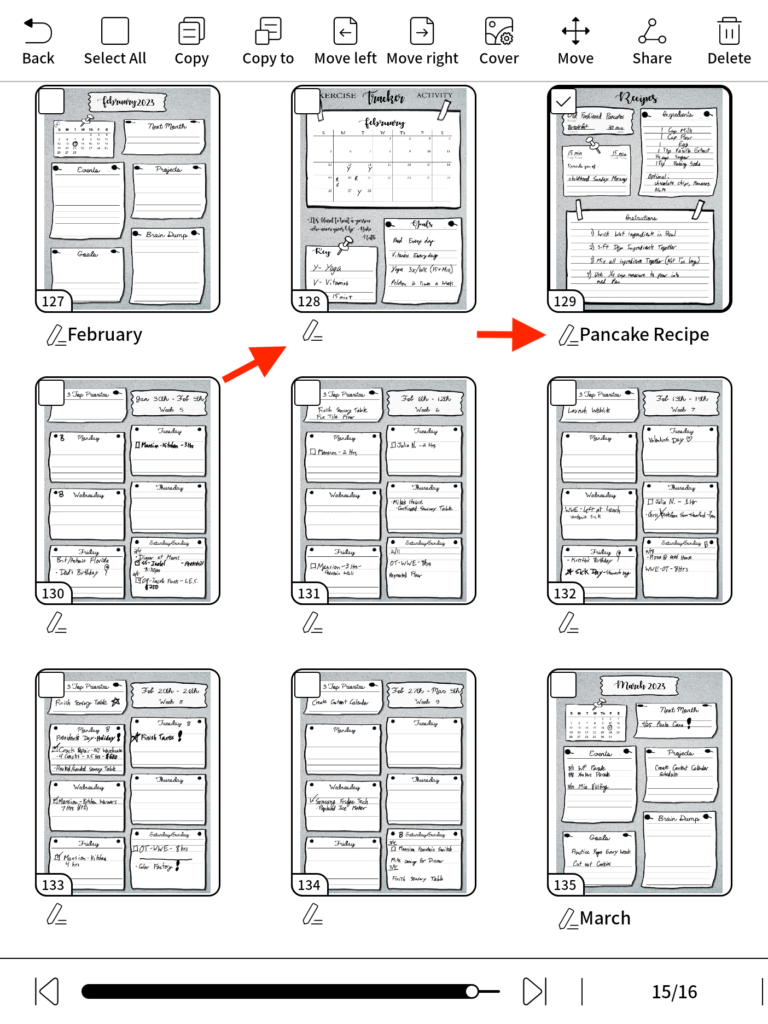
- You can click on edit button under any page to name it. I don’t usually name every single page. I will name the first page of every month(the monthly log) and that way I can see a divider at a glance.
- from there you can name any specific list pages that you like and start to organize
Step 3
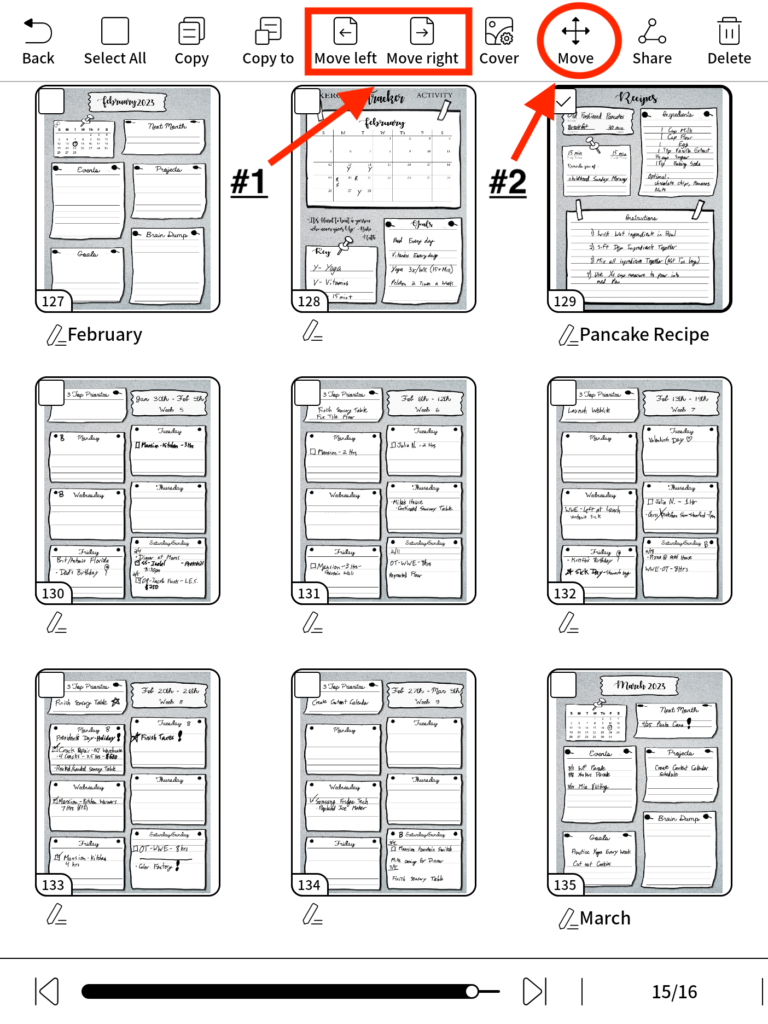
Organizing the notebook
using the top menu, you can re-organize your pages
- by selecting a page and clicking on [adj icon] , you can move pages to left or right of original position
- you can also use the [move icon] to select a specific page number spot or bring to the beginning or end of your notebook.
- Note – this can be done with multiple pages, too.
Step 4
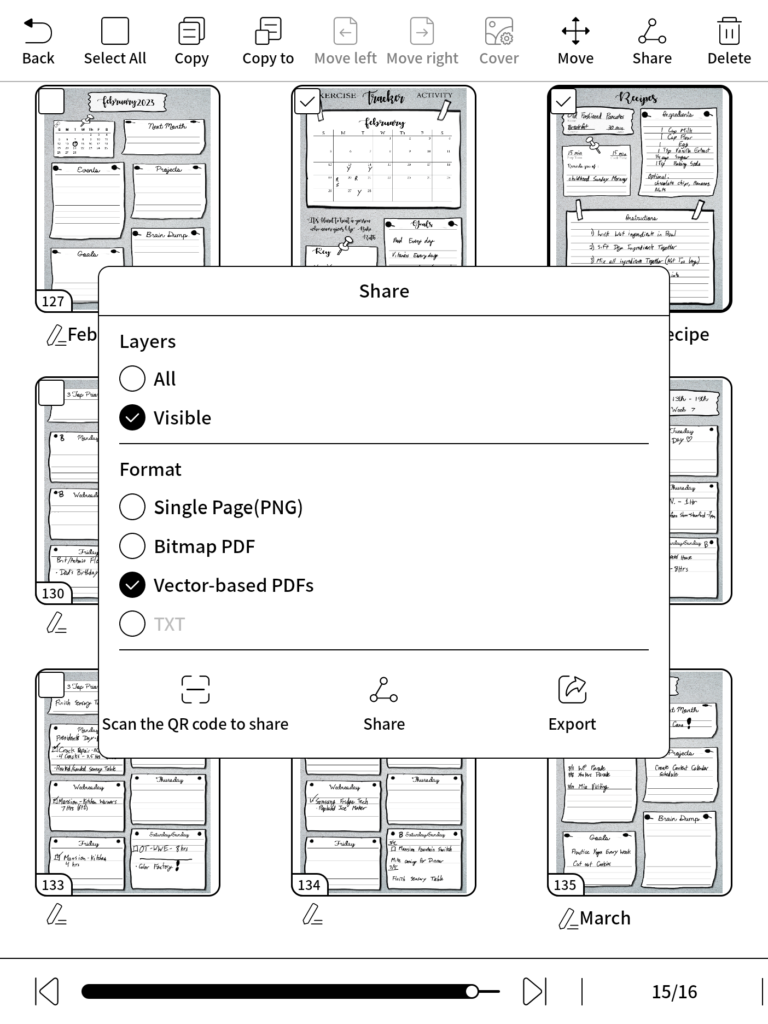
Sharing Pages
in this menu, You can also create PDFs to export and share
- select the page or pages you want to export
- click the share button at top right corner
- if only one page is selected then choose ‘Single Page PDF’
- if multiple pages were selected, choose ‘bitmap or Vector PDFs’
- the ‘Share button’ allows you to export to other apps such as email, dropbox, evernote, evernote, etc
- while the ‘export’ button saves it to the boox device
a Bitmap PDF is a PDF that cannot be edited whereas a Vector-Based PDF can be edited.
A Vector PDF allows you to select the actual pen strokes as an object and manipulate them or delete them all together
BONUS! – Choose a Cover Page
Assign a Cover Page
Assigning a static cover page is a great way o get a clean organized look in the notebooks section of your tablet. and very easy!
- select page you would like to make the cover page of your notebook.
- click on ‘Cover’ icon at top and confirm it
- and you’re done!
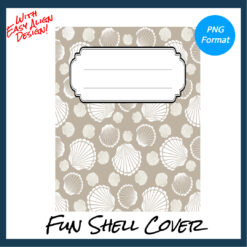
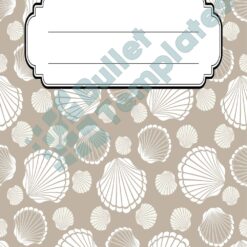
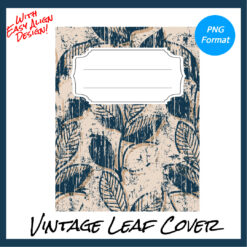
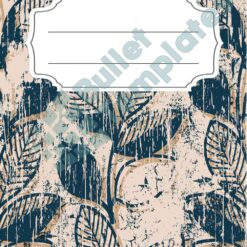
I like to create templates specifically for this purpose to look like the cover of a book or journal.
Cover page templates will now be available this week!

Download Free Bullet Journal Pack
Complimentary pack comes with 5 templates including:
- Future Log
- Monthly Log
- Weekly Log
- Habit/Mood Tracker
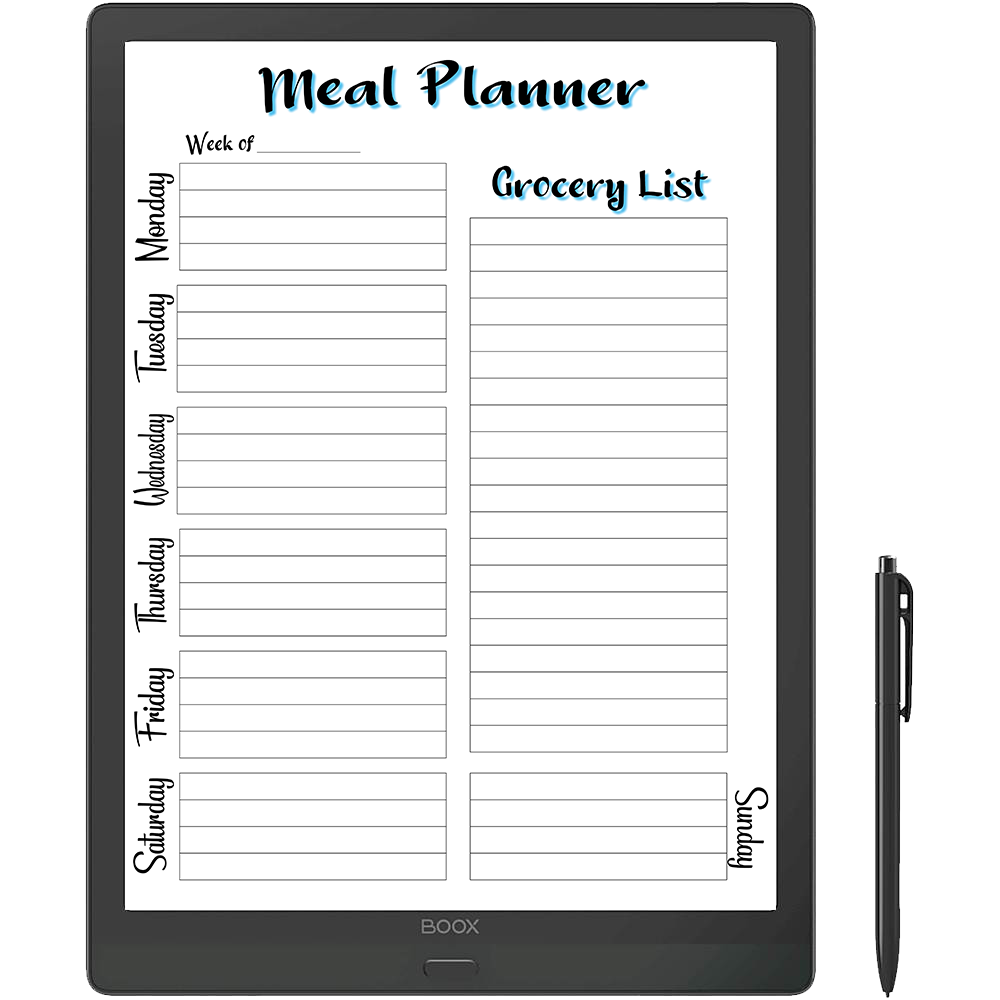
- Weekly Meal Planner
Bonus – Free Icon Set
Start Your Journey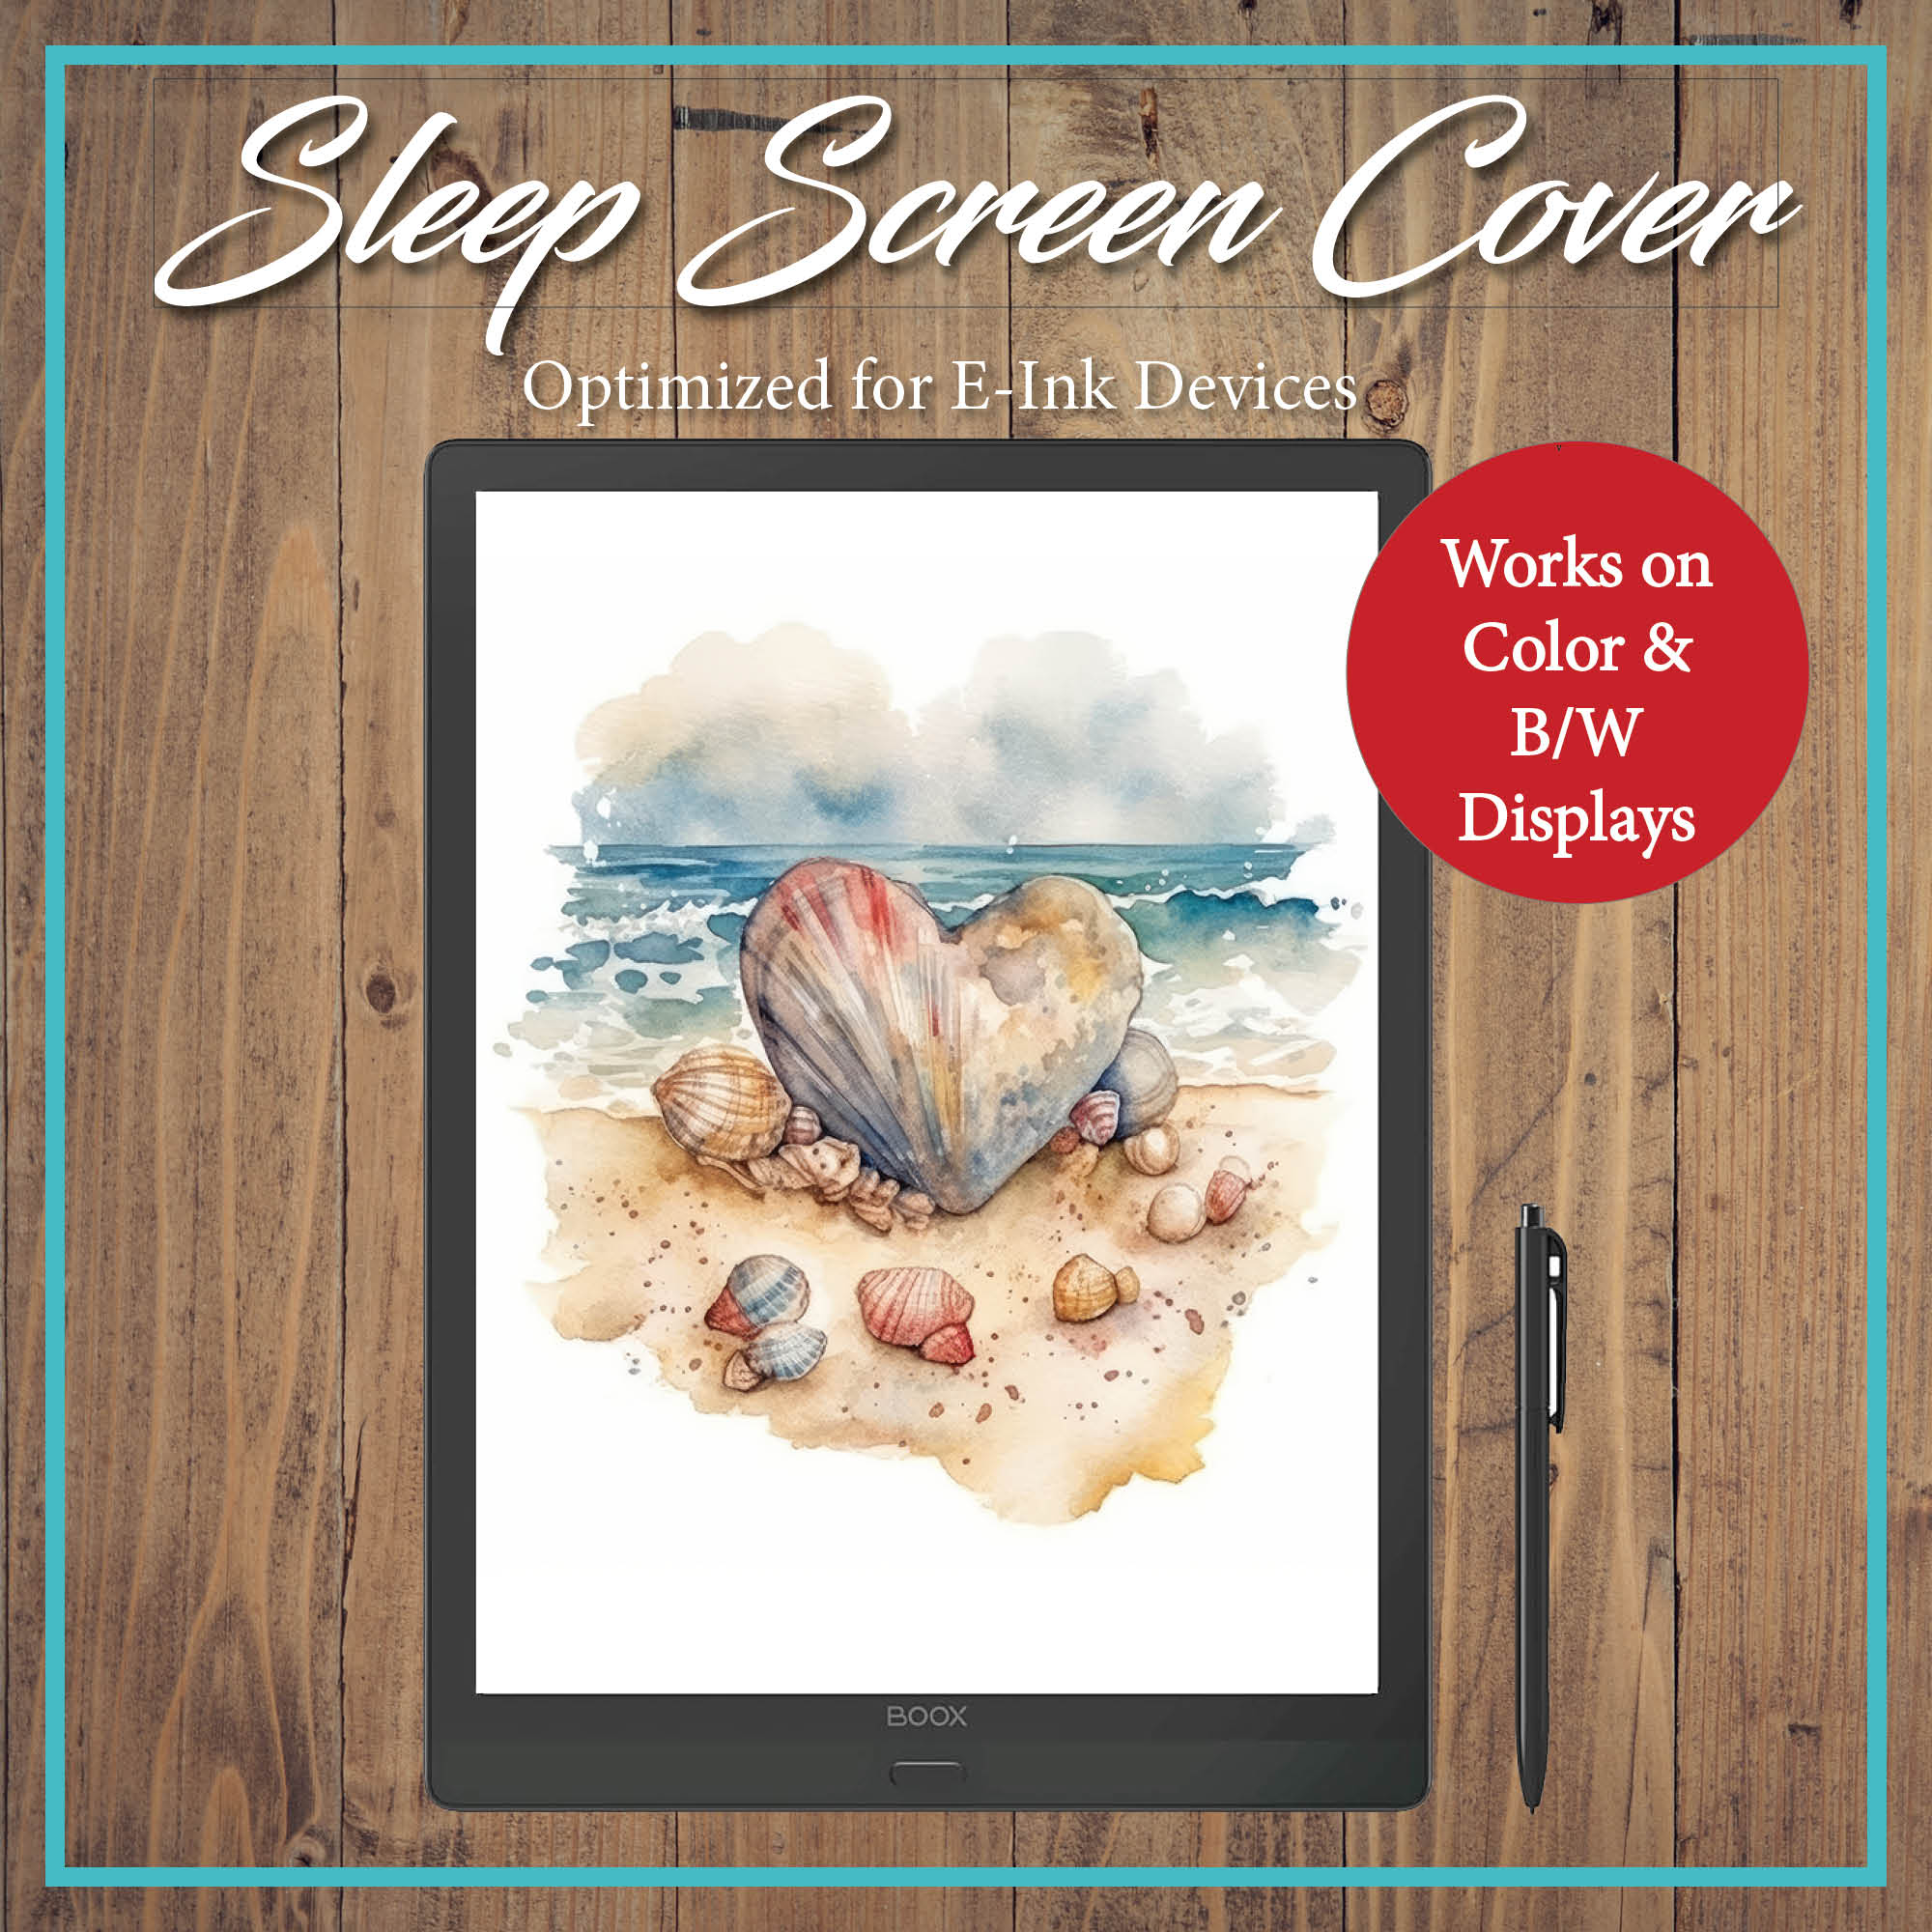
Screen Covers
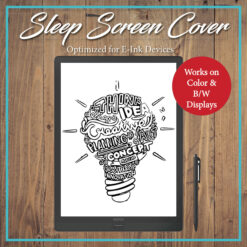
Screen Covers

Screen Covers
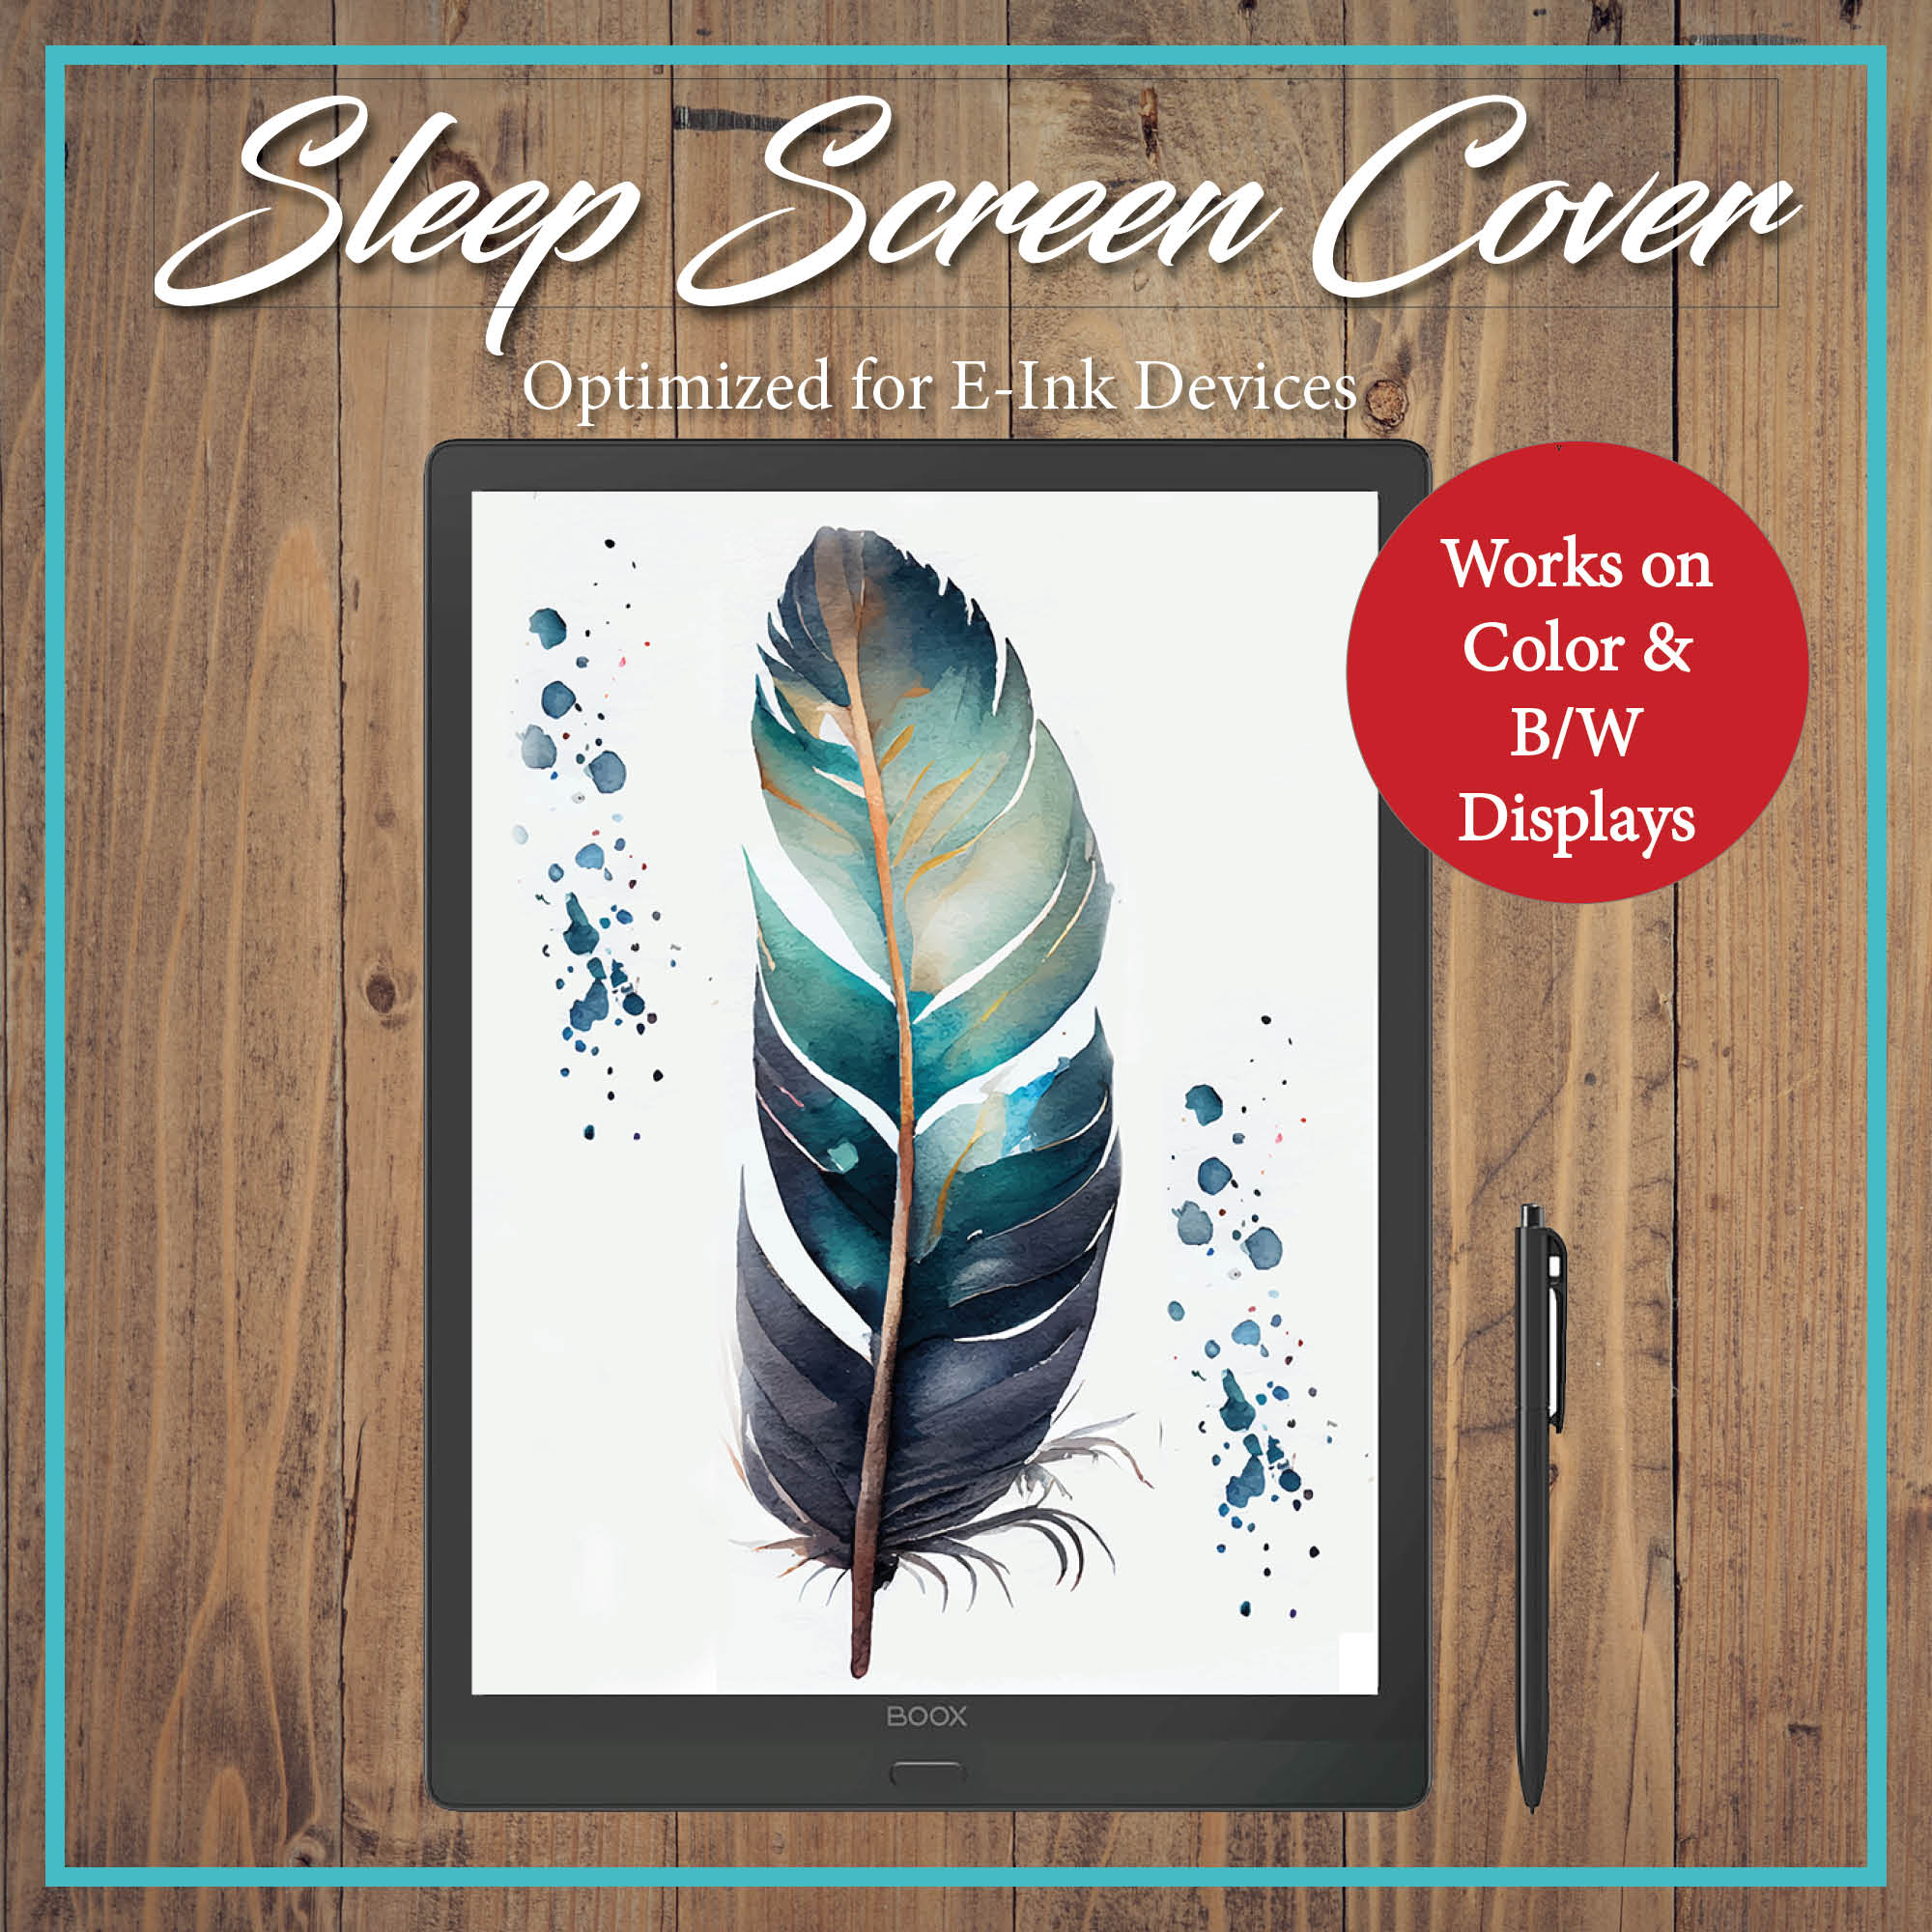
Screen Covers
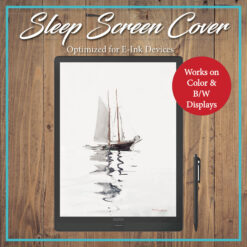
Screen Covers
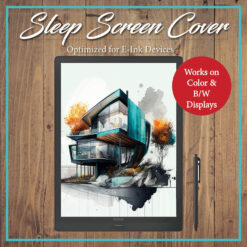
Screen Covers
Notebook Covers
Notebook Covers
Thanks for all of these great tips and tricks!
I was following along on this page, however, your Step 1 for adding the thumbnail icon doesn’t work on my Tab Ultra. I don’t see the thumbnail icon…
Hey Scott thanks for the comment, I found another way and have updated the blog post. Please check step #1 for an alternative method.