Onyx
#3: How to Use Notebook Covers Effectively
26
Mar
Mar
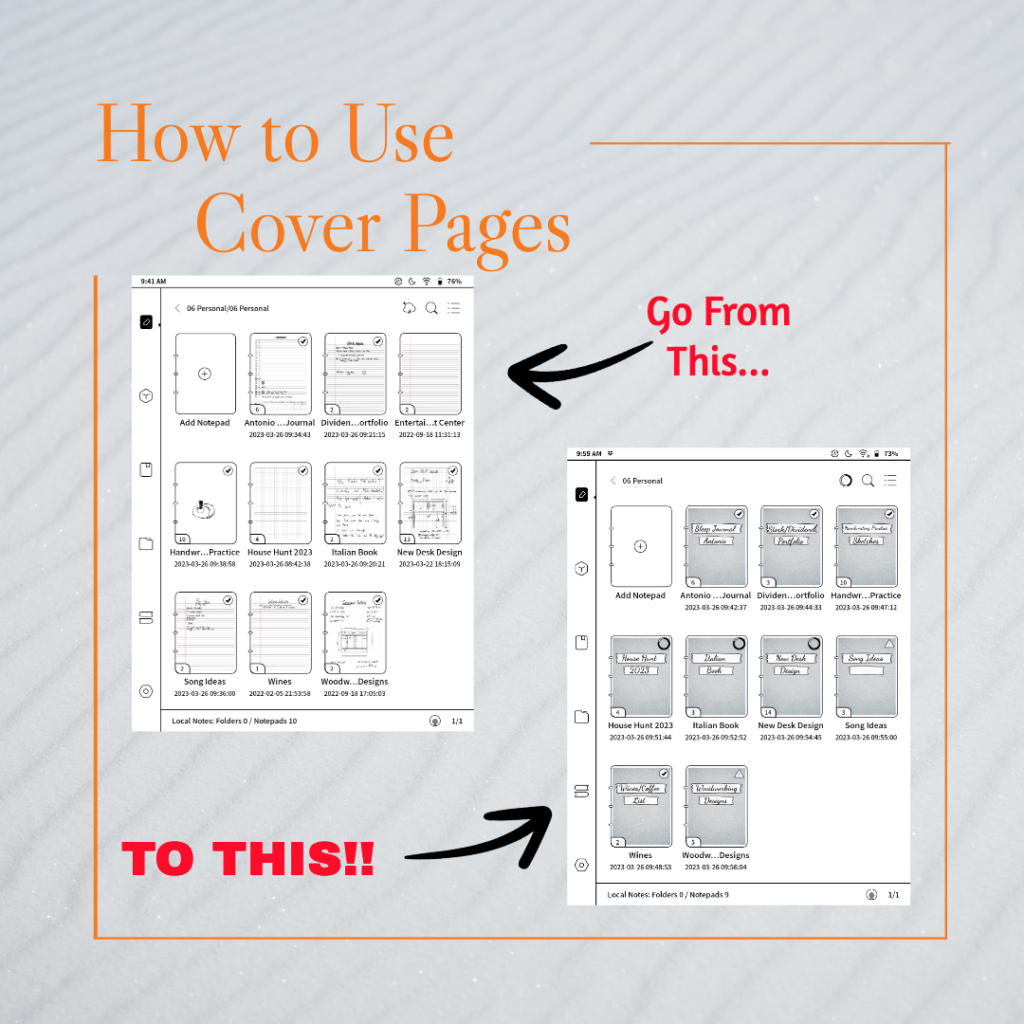
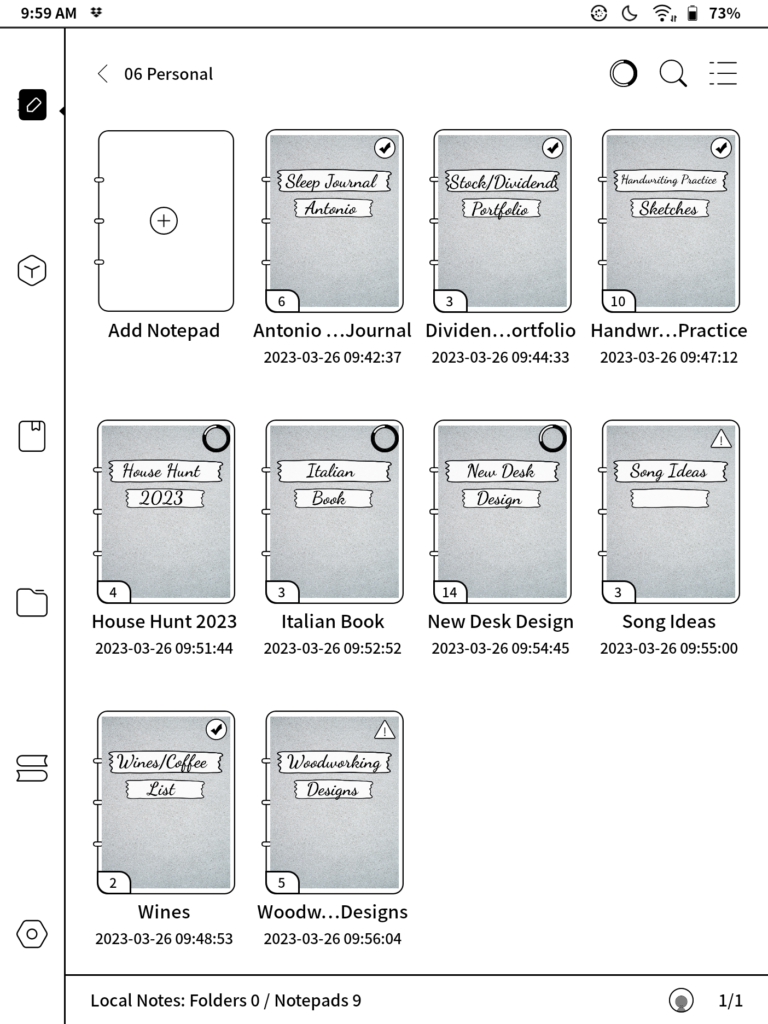
Switched to cover view but some of the Titles are Cut off?
Use Cover Pages to see everything at a glance
Today, I show how to make custom notebook Cover Pages quickly and easily.
And in the NOTES APP!
Step 2
Cover Setup
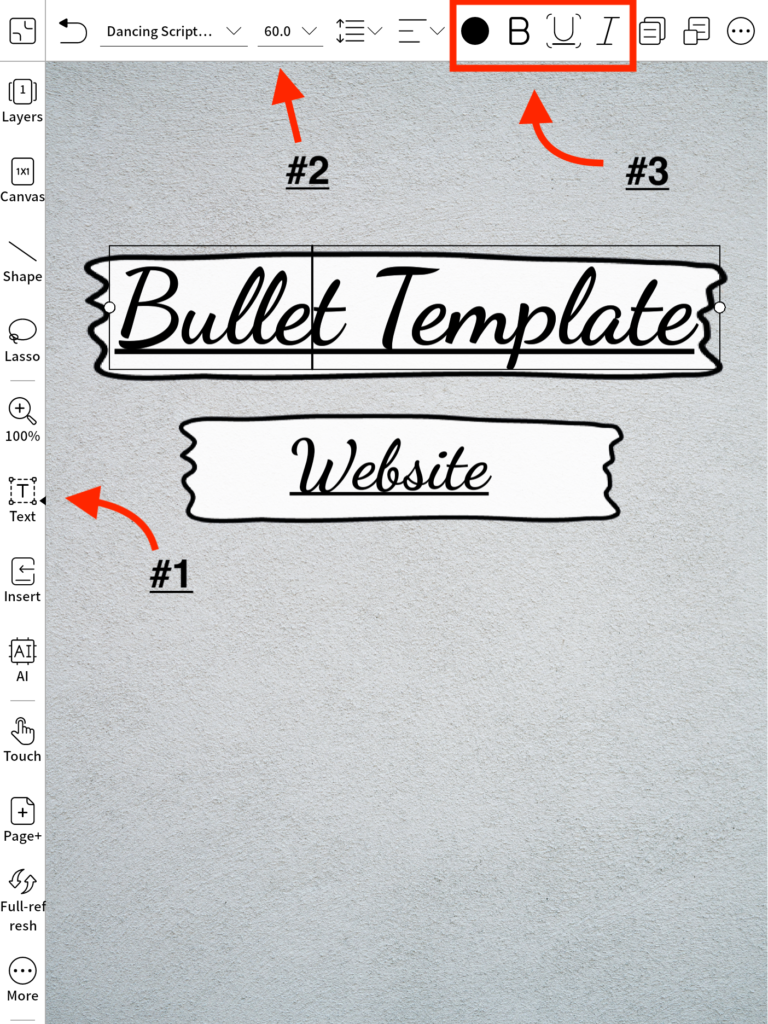
You will select the cover as a template on a New Page of the notebook you want to use.
- I like to use the Text tool to Add a Title to the cover.
- Using the ’60pt size’ with ‘Dancing Script’ font works perfect for the space on the label.
- there are a ton of fonts to choose from, so try them out and see what you like.
- Customize the text with Bold, Italic or Underline options
Step 3
Assign Cover Page
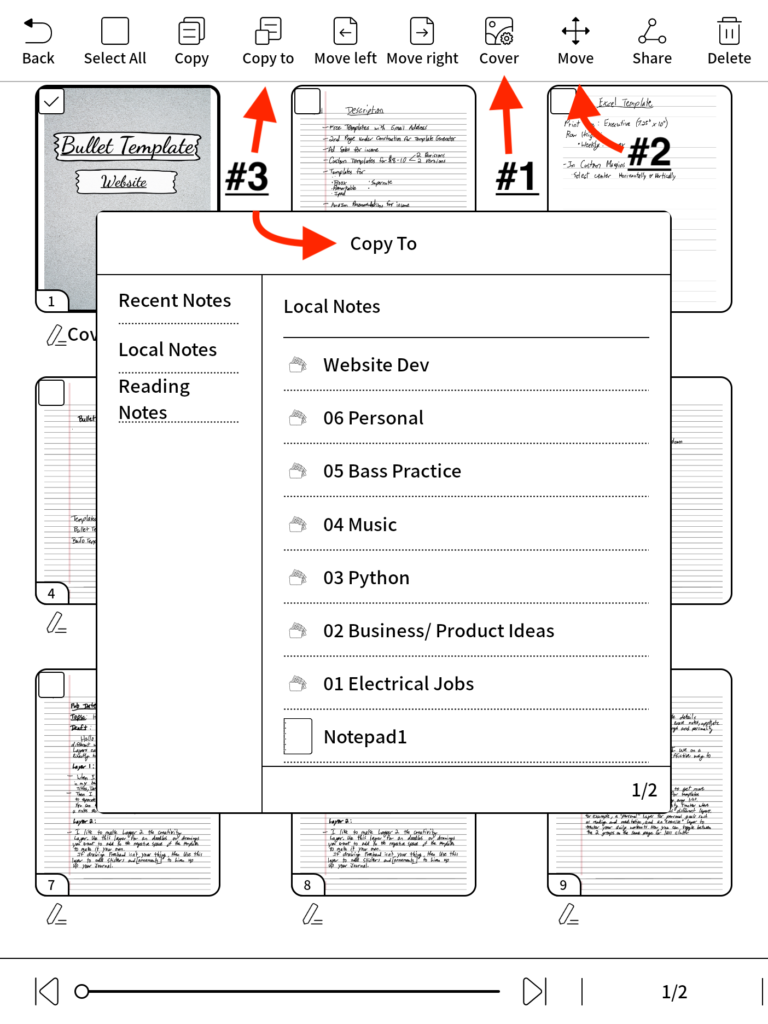
We will assign the Cover in the Page Window
- Select cover page and click on ‘Cover’ button to confirm it
- Move the cover page to first page position.
- this step is optional but I like to do it
- Use the ‘Copy to’ button to Copy this page to other notebooks
- Major time saver when you want to do multiple notebooks
- once copied, simply edit the text and assign as cover page
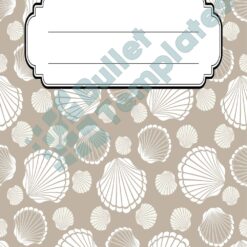
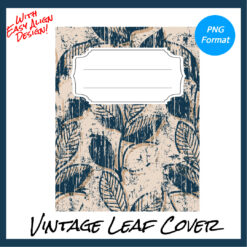
More Designs to Choose From Below!
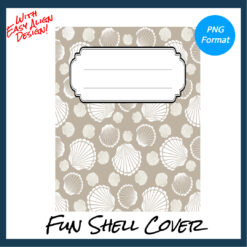
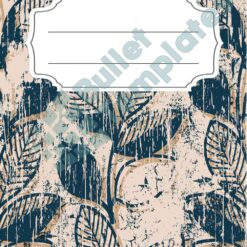
Notebook Covers
$2.99
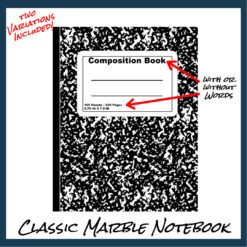
Notebook Covers
$2.99
New
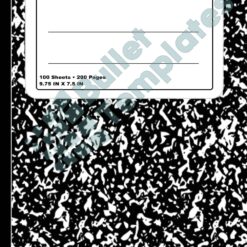
Notebook Covers
$3.99